


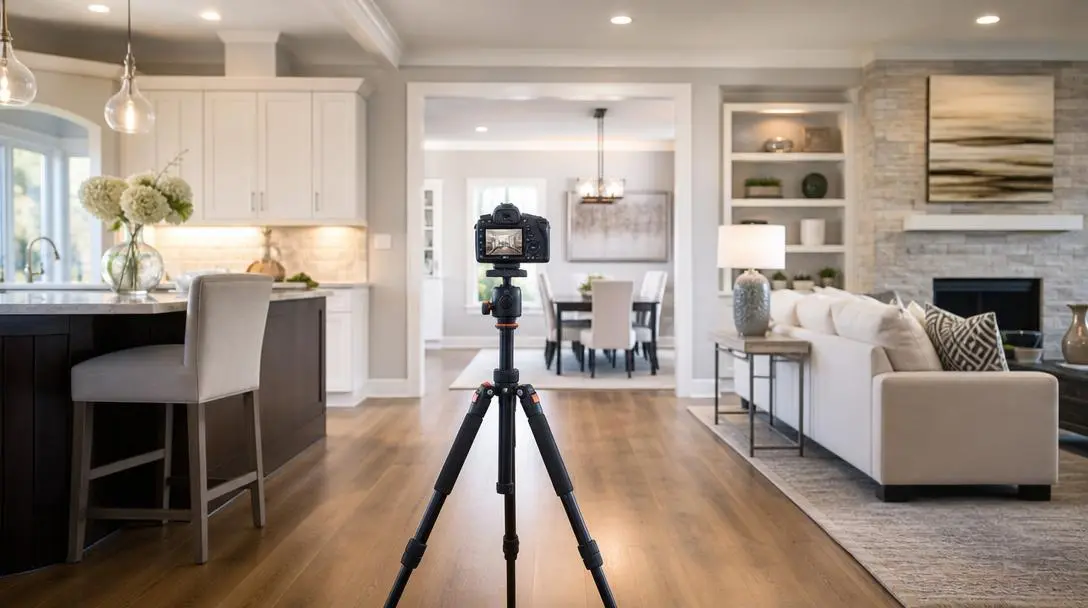
A tripod for real estate photography does three jobs: it keeps the camera level so vertical lines stay vertical, it lets you shoot slow shutter speeds in dim rooms, and it repeats the same camera height in every room. Most buying advice ignores the first and last job and talks about load ratings instead. Buy for minimum height, a head you can level in seconds, and weight you are happy to carry up a flight of stairs.
This guide is for photographers and for agents who shoot their own listings. It sits alongside our real estate photography equipment guide, which covers the whole kit. Here we go deep on the one piece of gear that decides whether your rooms look straight or slightly drunk.
What a Tripod Actually Fixes in a Real Estate Interior
Handheld, an interior is a compromise between shutter speed and noise. The old rule says your shutter speed should be no slower than one over your focal length, so a 16mm lens handheld wants about 1/16 of a second at the slowest. A dim living room at f/8 and ISO 100 often asks for a full second or more. No amount of steady hands closes that gap.
The second fix is repeatability. Bracketed exposures, flash blended frames and HDR merges all assume the camera did not move between frames. If it moved even a few pixels, you get ghosted edges on window frames and doors. Our guides to HDR real estate photography and flambient real estate photography both depend on a locked camera for exactly this reason.
The third fix is the one people underrate. A tripod with a level head gives you a sensor plane that is vertical. When the sensor is vertical, walls stay parallel in the frame and you need almost no perspective correction in editing. Tilt the camera down to catch more floor and the walls start leaning inward at the top. You can fix that in software, but you lose pixels and sometimes the corners of the frame.
The Height Rule: Clear the Counter, Then Stay Level
Most buying guides skip height entirely. In practice it is the setting you will adjust most. Here is the rule we would use: set the lens just above the tallest foreground object in the frame. In a kitchen that is the counter, about 36 inches. In a living room it is usually the back of a sofa, around 30 to 36 inches. That puts the camera at roughly 48 to 54 inches in most rooms.
Then keep the camera level and use the lens to decide how much ceiling and floor you want. This is the opposite of what beginners do. They set the tripod to eye level, tilt down to include more floor, and wonder why the walls lean. If a room needs more floor in the frame, lower the whole tripod or switch to a wider lens. Do not tilt the camera.
Two exceptions are worth knowing. Bathrooms and small bedrooms often need you to go lower or shoot from a corner, so your tripod needs to open low and spread wide. And rooms with very high ceilings can take a slightly higher camera, because a low camera makes the ceiling dominate the frame. For lens choices that work with these heights, see our guide to the best lens for real estate photography.
Ball Head or Geared Head: Pick the One You Can Level in Five Seconds
A ball head has one lock and moves in every direction. It is quick to point and slow to level, because you are fighting three axes at once. A geared head, also called a 3-way head, gives you separate controls for pan, forward and back tilt, and side to side tilt. You level the camera by turning a knob, and it stays where you put it.
Our position is simple. If you shoot interiors for a living, buy a geared head or a ball head with a dedicated leveling base. The few seconds saved per setup compound. Across a day of shooting, a slow head costs real time and, worse, tempts you to stop caring about level by the afternoon. Whatever head you choose, add a hot shoe bubble level or use your camera's electronic level and treat it as mandatory, not optional.
The Center Column Mistake
Raising the center column is the fastest way to add height, and the fastest way to add vibration. A column that sticks out above the legs acts like a lever, so every tap on the floor and every puff of air from an open window shows up as softness in a slow exposure. It also stops you from going low, because many columns block the legs from opening flat.
Extend the legs first and leave the column down. If your tripod only reaches the height you need with the column fully raised, it is too short for this job. This is also why maximum load rating is a poor way to choose: a tripod rated for a heavy telephoto can still be too tall at its minimum and too wobbly at full height.
Carbon Fiber or Aluminum: Match It to Your Day
Carbon fiber is lighter and damps vibration a little better. Aluminum is cheaper, tougher on knocks and slightly heavier. The real question is how many times you walk the tripod in and out of a property. At one or two listings a day, aluminum is fine. At four or five, with stairs, a long carry from the street and a lockbox walk, the weight difference is the thing you feel on Friday.
Whichever you choose, check three details before you buy. Rubber feet protect hardwood floors, and spiked feet will mark them. Leg locks should be fast, because twist locks and flip locks both work but slow ones cost time at every stop. And the legs need to splay wide enough to hold the camera low without bringing the column into play.
A Setup Routine That Keeps Every Room Consistent
Gear matters less than doing the same thing in every room. This is the sequence that keeps frames consistent from the entry to the last bedroom:
- Set the legs to the same height you used in the previous room, then adjust only for a reason you can name.
- Level the tripod platform first, then level the camera on the head.
- Compose with the lens, not with tilt, and check the vertical lines on the live view grid.
- Use a 2 second timer or a remote so you never touch the camera during exposure.
- Check the first frame at full zoom on a window edge. If it is soft, the floor is moving or the column is up.
If you are building your room list as you go, our real estate photography shot list shows which angles to cover in each space, and our real estate photography tips cover the lighting side of the same routine.
Why Tripod Discipline Matters More Once Photos Become Video
More photographers now deliver a short listing video alongside stills. That changes what a good frame is. When a still is animated into a clip, camera motion is added on top of the frame. Crooked verticals look worse in motion than in a still, and a camera height that jumps between rooms makes the finished video feel like a series of unrelated pictures instead of one walkthrough.
That is a practical reason to shoot level and at a consistent height. Amplifiles takes finished listing photos and turns each one into a 1080p clip with voice-over, captions and branding in about 5 minutes. Pricing is $1.50 per image (one dollar and fifty cents), so a 7 image video costs $10.50. New accounts get 1,200 free credits, and 150 credits process one image, which covers roughly 8 images. If you already shoot with a tripod, the video comes from the same files you deliver anyway. Our post on why photographers should include listing video in every order covers how to package it.
Amplifiles is built for this workflow: the photographer shoots once, delivers stills, and adds video without a second visit or an editing session. No extra gear is needed on site, so the tripod you already own is the piece worth getting right.
What to Skip When You Buy
Skip the heaviest load rating you can find. A real estate camera and wide lens is light, and you are paying in weight and size for capacity you will never use. Skip tripods that cannot open low, since they cannot shoot a bathroom vanity or a low sink. Skip hooks, trays and extra accessories you will not use. Spend that money on the head and on a leveling solution instead.
Finally, skip the idea that a better tripod fixes bad habits. A premium carbon tripod with the column raised and the camera tilted down will give you worse photos than a basic aluminum one used with discipline. The skill is in the setup routine above.
Frequently Asked Questions
How tall should a tripod be for real estate photography?
Set the lens just above the tallest foreground object in the frame, which is usually a kitchen counter at about 36 inches. In most rooms that puts the camera between 48 and 54 inches off the floor. Keep the camera level at that height and let the lens, not tilt, decide how much floor and ceiling you capture.
Do you need a tripod for real estate photography?
Yes, for interiors. Dim rooms push handheld shutter speeds too slow for sharp frames, and bracketed or flash blended exposures need identical framing to merge cleanly. A tripod also gives you a repeatable camera height and a level sensor, which is what keeps vertical lines straight.
Is a ball head or a geared head better for real estate photography?
A geared or 3-way head is easier to level precisely because pan, tilt and roll move independently. A ball head is faster to set up, but leveling takes more fiddling. If you shoot four or five listings a week, the extra seconds per setup add up, so most interior shooters end up preferring a geared head.
Is a carbon fiber tripod worth it for real estate photography?
Carbon fiber is worth it if you carry the tripod in and out of several properties a day, since weight is the thing you feel by week two. It also damps vibration slightly better than aluminum of the same size. If you mostly shoot one or two listings a day, a solid aluminum tripod does the same job for less money.
Can I shoot real estate photos without a tripod?
You can for bright exteriors and for quick phone shots, but interiors are where handheld work breaks down. Our iPhone real estate photography guide covers how to shoot a listing on a phone, and a small tripod or phone mount still improves results. For client work with a real camera, bring the tripod.
Does tripod height matter if the photos become a listing video?
Yes. When photos are animated into a video, a consistent camera height and straight verticals make the motion between rooms feel like one walkthrough. Amplifiles turns each photo into a 1080p clip at $1.50 per image (one dollar and fifty cents), so level, consistent frames in means a cleaner video out.
Final Thoughts
A good real estate tripod is not the strongest one. It is the one that opens low, levels fast, stays rigid with the center column down, and weighs little enough that you never leave it in the car. Get those four right and your verticals stay straight, your merges stay clean and your frames stay consistent from room to room.
We built Amplifiles for photographers and agents who already have good photos and want video without a second shoot. Our platform turns listing photos into professional 1080p marketing videos in about 5 minutes, with voice-overs, captions, and branding. No filming or editing required.
Browse real estate video examples to see what a delivered listing video looks like before creating one. Or jump straight to how Amplifiles works for photographers and start with your 1,200 free credits.