.webp)


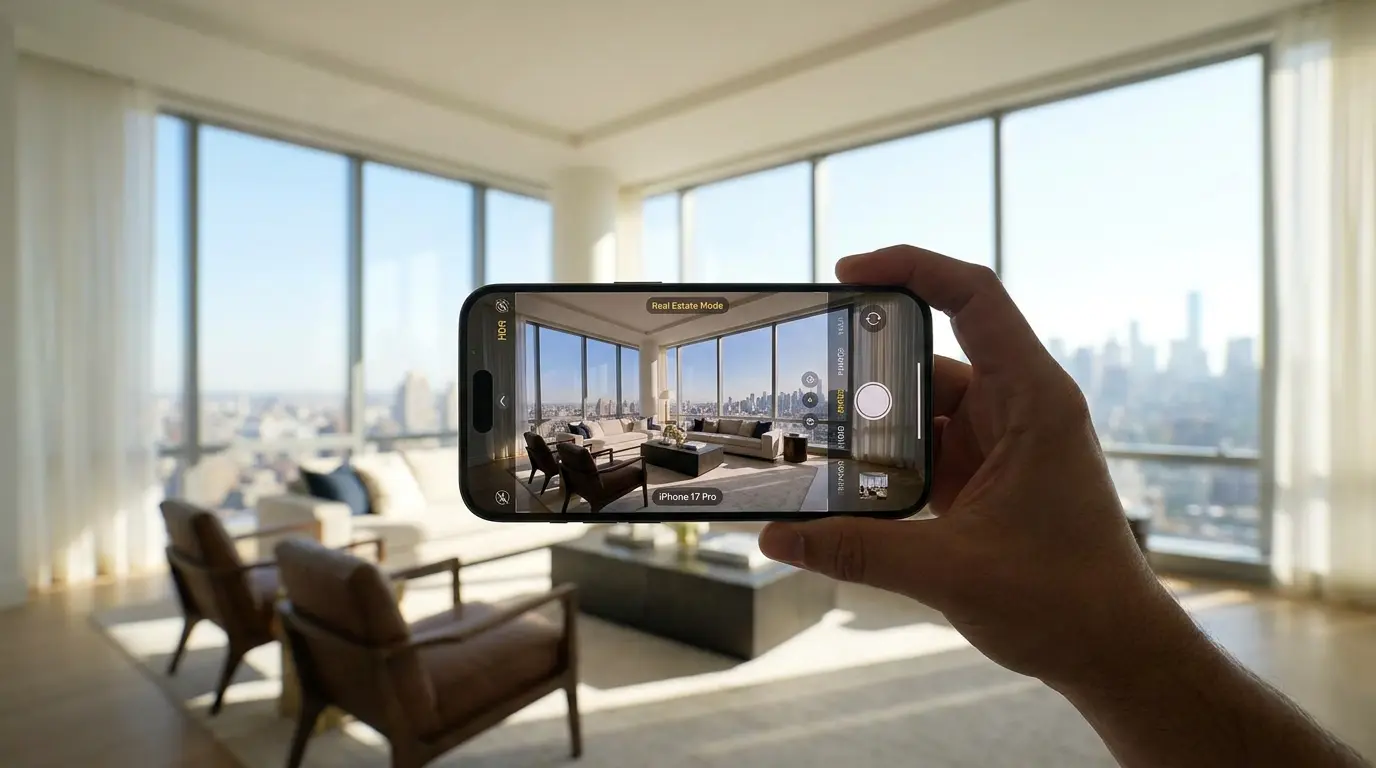
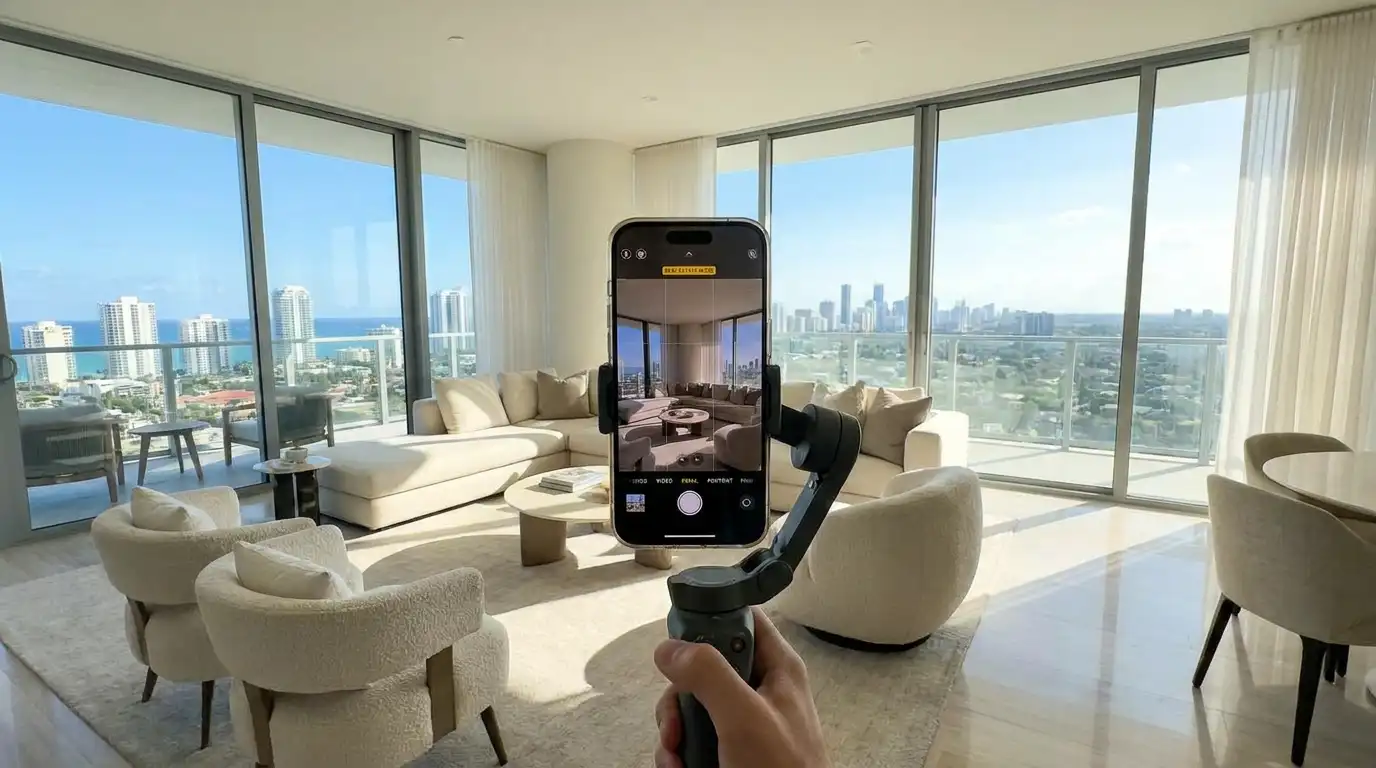
The fastest way to shoot a usable listing gallery on your phone is to lock the iPhone to 0.5x or 1x ultra-wide, mount it on a tripod at chest height, and use AE/AF lock to expose for the room (not the window). That single workflow gets most agents from "embarrassing iPhone photos" to "MLS-ready in under an hour." We built Amplifiles after watching thousands of agents shoot exactly this way, and this guide walks through the camera settings, shot list, and the editing path we see win, plus when to skip the iPhone and hire a real estate photographer instead.
Can you actually shoot a listing on an iPhone?
Yes, with caveats. An iPhone 12 or newer can produce gallery photos that meet every major MLS technical requirement and look credible on Zillow, Realtor.com, and your brokerage site. The honest threshold: iPhone-first works for entry-level listings, rental properties, and most owner-occupied homes under roughly $750K. It does not work for luxury listings, properties with major views or twilight requirements, or anywhere the seller expects cinematic exterior shots and drone aerials.
Two things are true at the same time. Modern iPhones beat the photography most new agents would have done with a point-and-shoot in 2018. And a $300 hired photographer still produces a meaningfully better gallery than 90 minutes of you running around the house. The deciding question is rarely "is my iPhone good enough?" but "what is this listing worth to your business?" For a $400K starter home where the photographer would cost more than 2% of your gross commission, shooting it yourself often makes sense. For a $1.5M listing, it almost never does.
The other reason this matters: even when you shoot on an iPhone, what you actually need to deliver in 2026 is a still gallery plus a listing video. Buyers expect both. The follow-up question after "how do I shoot iPhone listing photos?" is "what do I do with them?" That's where the workflow extends, and we'll get there.
Which iPhone is best for real estate photography?
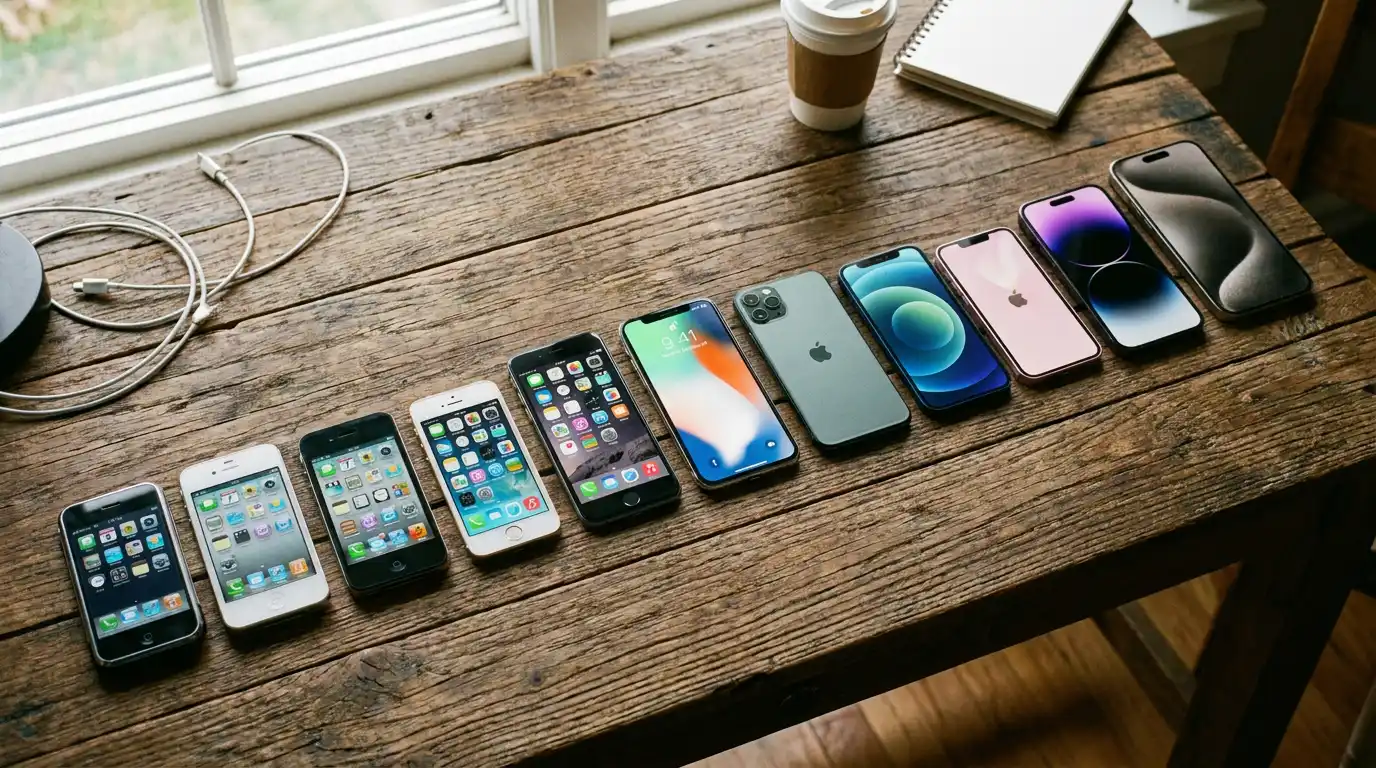
Most agents already own a perfectly capable phone. Here is the honest decision table. If you have an iPhone 13 or newer, you have enough camera. If you are buying a new phone with real estate work in mind, the iPhone 17 Pro is the current model to target, though any iPhone 15 Pro or later gives you the same essentials: ProRAW and the 48MP main sensor.
One useful spec detail: Apple's iPhone 15 Pro and later capture 48-megapixel photos in ProRAW, and the resulting JPEG export is 8,064 pixels wide, far beyond any MLS requirement. If you already own an iPhone 13 or newer, you have enough camera. Don't upgrade just for this. Older models (iPhone 11 and below) skip the ultra-wide camera entirely, which makes interior work much harder.
Camera settings to dial in before your first shot
Five settings turn the default iPhone camera into a real estate tool. Set them once and they hold across shoots.
- Turn on the grid. Settings > Camera > Grid. Use the vertical lines to keep walls and door frames straight. Crooked verticals are the single biggest giveaway of an amateur listing photo.
- Lock AE/AF. Tap and hold on the brightest part of the room until the yellow AE/AF Lock banner appears. This stops the exposure from jumping as you reframe.
- Shoot in the widest format your phone supports. On Pro models, enable ProRAW (Settings > Camera > Formats) for the most editing latitude. On non-Pro phones, the standard HEIC is fine.
- Turn off the flash. Always. The on-phone flash flattens the room and throws harsh shadows. Use the room's own lights plus daylight.
- Use 0.5x or 1x, never digital zoom. The ultra-wide (0.5x) captures whole rooms; the main 1x lens is sharper for detail shots. Anything above 1x is digital crop and loses quality.
The 30-frame iPhone shot list
A complete MLS gallery is roughly 25 to 35 photos. Here's the frame-by-frame list most agents follow, adapted for a standard three-bed, two-bath home. Scale up or down by room count. For a printable version, see our full real estate photography shot list.
- Exterior (4 to 6): front straight-on, front 45° left, front 45° right, backyard, any standout feature (pool, deck, view).
- Living room (3 to 4): one wide from the entry corner, one from the opposite corner, one detail (fireplace, built-ins).
- Kitchen (3 to 4): wide showing the full layout, one along the counter line, one detail (island, backsplash, appliances).
- Primary bedroom (2 to 3): wide from the doorway, one toward the window, one of the ensuite or closet.
- Secondary bedrooms (2 each): wide from the doorway, one toward the window.
- Bathrooms (1 to 2 each): one wide from the doorway, avoid catching yourself in the mirror.
- Transitions (2 to 3): entryway, hallway, dining nook, laundry.
Shoot every room at chest height (about 3 to 4 feet), camera held level, lens flat against one wall facing across the room. That one-point perspective makes spaces feel larger and is the fastest way to look professional.
How to expose for windows without blowing them out
The hardest part of interior photography is the dynamic range between a bright window and a dark room. Your eye balances it; the iPhone sensor can't in a single frame. Two approaches:
The simple version: tap to focus on the room interior, then drag the exposure slider down slightly until the window view is just barely visible rather than pure white. The room will look a touch dark in the preview. That's correct. You will recover the shadows in editing.
If you have an iPhone 15 Pro or later (including the 16 Pro and 17 Pro), shoot the same frame twice. The first one exposed for the interior, the second exposed for the window, then blend them in an editing app. This is manual HDR bracketing and it's how pro-looking window pulls are made. Apps like SnapSnapSnap automate the bracket-and-blend in one tap.
Five iPhone mistakes that kill listing photos
- Tilting the phone up or down. It bends vertical lines instantly. Keep the phone level; if you must show the ceiling or floor, step back instead of tilting.
- Shooting at eye level. Chest height makes rooms feel more spacious and natural. Eye level compresses the space.
- Leaving lights mismatched. Mixed warm and cool bulbs create color casts. Turn everything on, then correct white balance in editing, or swap to matching bulbs before the shoot.
- Clutter in frame. Trash cans, cords, toiletries, fridge magnets, toilet lids up. Walk each room once just to remove clutter before you shoot.
- Over-editing. Cranked HDR and neon-green grass scream fake. Buyers feel misled when they arrive. Keep edits believable.
Editing iPhone real estate photos
Editing is where iPhone photos go from "fine" to "hard to tell it wasn't a pro." The practical stack: Lightroom Mobile for exposure, white balance, and the Perspective tool (Geometry > Upright auto-corrects verticals); Snapseed for free vertical correction if you don't have Lightroom; and a one-tap AI cleanup for the finishing pass. For the AI side of editing, see our guide to AI real estate photo editing.
The non-negotiable edits per photo: straighten verticals, lift shadows so corners aren't black, pull highlights down so windows show a view, and nudge white balance toward neutral. Four moves, about 30 seconds per photo once you have a preset.
One ethical line: don't edit a property into a different property. Removing a power line is fine. Removing a road, repainting walls, or adding a pool the listing doesn't have is misrepresentation. The NAR Code of Ethics, Article 12, requires that photos present "a true picture in their advertising." For a deeper read on what AI editing can and cannot do legally, see our notes on AI real estate photo editing.
Turning iPhone listing photos into a marketing video
Here's the part most iPhone-real-estate-photography guides skip: a still gallery alone is no longer a complete listing in 2026. Hemnet, the Swedish equivalent of Zillow, found that listings with video receive 76% more engagement than photo-only listings (Hemnet Research, 2024). The follow-up workflow after the gallery is to turn the same photos into a 60 to 90 second listing video for social, MLS supplemental media, and the listing's Zillow Showcase or premium placement.
The fastest path is an AI real estate video tool. Amplifiles takes the same iPhone photos you just shot, adds motion, voice-over, captions, and brand colors, and exports a 1080p video in both 16:9 (for MLS, Zillow, YouTube) and 9:16 (for Reels, TikTok, Stories) in about five minutes. Pricing is $1.50 per image (one dollar and fifty cents per image), so a 30-image listing video costs roughly $45. New users get 1,200 free credits, which equals about 8 images, enough to test one listing before paying.
Compared to hiring a videographer (typical cost $300 to $1,500 per listing) or learning Premiere Pro yourself, the AI route makes sense for any listing under roughly $1M where the math of "billable hour spent filming and editing" doesn't add up. Pictory and Renderforest are general-purpose AI video tools that handle real estate photos as a side use case, but they don't understand aspect ratios, ordered shot lists, or real estate music libraries the way a purpose-built tool does. For a side-by-side comparison of the category, see our guide to making a real estate video without filming or editing.
If you'd rather see the output first, browse real estate video examples to see what a delivered listing video looks like, then come back to your iPhone shoot and pick the 20 or so photos you'd want animated.
When to skip the iPhone and hire a real estate photographer
Three situations where it's almost always worth paying a photographer:
- Luxury or trophy properties. A $2M listing needs tilt-shift correction, mixed-lighting flash work, and twilight photography. None of that is happening on a phone.
- Listings sold on a view. Mountain, ocean, city skyline. The iPhone's dynamic range can capture a window view, but the actual hero shot of a view-driven property requires a real camera and bracketing.
- Drone aerials. The iPhone ultra-wide is not a drone. If the listing's selling point is acreage, waterfront, or unique siting, you need a licensed drone operator.
The cost crossover for most US markets is around $200 to $400 per shoot. If a photographer in your market is $250 and your time is worth more than $80 an hour, hiring is cheaper than shooting (because a real estate shoot is 2 to 3 hours of your time plus 1 to 2 hours of editing). For pricing benchmarks in your area, see real estate photography pricing.
Frequently asked questions
Can I use my iPhone for real estate photography?
Yes. Any iPhone from the 12 onward has a usable ultra-wide lens and Smart HDR strong enough for MLS gallery photos. The iPhone is not a substitute for a hired photographer on luxury listings, but for entry-level and mid-tier listings it produces gallery photos that meet every major MLS technical requirement. Composition, light, and editing matter more than the camera itself.
Which iPhone is best for real estate photography?
For a new purchase, the iPhone 17 Pro is the current model to buy; the 16 Pro and used 15 Pro remain excellent value. All three share what matters for listings: the 48MP main sensor, ProRAW workflow, and improved dynamic range for interiors. If you already own an iPhone 13 or newer, you have enough camera. Don't upgrade just for this. Older models (iPhone 11 and below) skip the ultra-wide entirely and aren't worth using for real estate.
Are iPhone photos accepted by MLS systems?
Yes. Most US MLS systems require JPEGs at least 1,024 pixels wide and under 10MB per file. The iPhone 12 and newer easily exceed both thresholds. Check your local MLS rules for aspect ratio (most prefer 4:3 landscape), file count limits (usually 24 to 36 per listing), and naming requirements before uploading.
What's the best iPhone app for real estate photography?
For automatic HDR bracketing, SnapSnapSnap is the most popular paid option. For full manual control, Halide gives you DSLR-style focus, exposure, and bracketing settings. For editing, Lightroom Mobile is the practical standard and includes a Perspective tool. Snapseed (free) is a strong alternative for vertical correction specifically.
Should I hire a photographer or shoot listings on my iPhone?
Hire a photographer for any listing above roughly $1M, any view-driven property, anything needing drone aerials or twilight shots, or any luxury positioning. Shoot on your iPhone when the listing is entry-level, when the photographer's fee exceeds 2% of your gross commission, or when timing forces a same-day MLS upload. The deciding question is what the listing is worth to your business, not what your phone is capable of.
How do you turn iPhone listing photos into a real estate video?
The fastest path is an AI real estate video maker. Amplifiles takes 20 to 30 iPhone photos, adds motion, voice-over, captions, and brand colors, and produces a 1080p listing video in 16:9 and 9:16 in about five minutes. Pricing is $1.50 per image (one dollar and fifty cents per image), so a typical 30-image listing video costs around $45. The alternative paths (hiring a videographer, or learning Premiere Pro yourself) take meaningfully more time and money for sub-$1M listings.
What is the 20-60-20 rule in photography?
The 20-60-20 rule is a composition guideline that allocates roughly 20% of the frame to foreground, 60% to the main subject (the room), and 20% to background. In real estate, that often translates to a small foreground element (rug corner, edge of a piece of furniture), the room itself dominating the middle, and a window or doorway providing depth at the back. It's useful for the hero shot of each room.
Final thoughts
An iPhone is enough to produce a usable listing gallery for most homes you'll sell this year. What it's not enough to do, on its own, is win the listing presentation against an agent who shows up with both still photos and a video. The phone gets you to the still gallery in a couple of hours. The video used to be the part that required a videographer, a $300 to $1,500 invoice, and a two-week turnaround.
We built Amplifiles because that gap (iPhone photos to a polished listing video) shouldn't require either filming or editing. Our platform turns the same listing photos into a professional 1080p marketing video in about 5 minutes, with voice-over, captions, and your branding. Pricing is $1.50 per image, and new accounts start with 1,200 free credits.
Browse real estate video examples to see what a delivered listing video looks like before you upload anything. Or head to how Amplifiles works for real estate agents and turn your next iPhone shoot into both a gallery and a video.